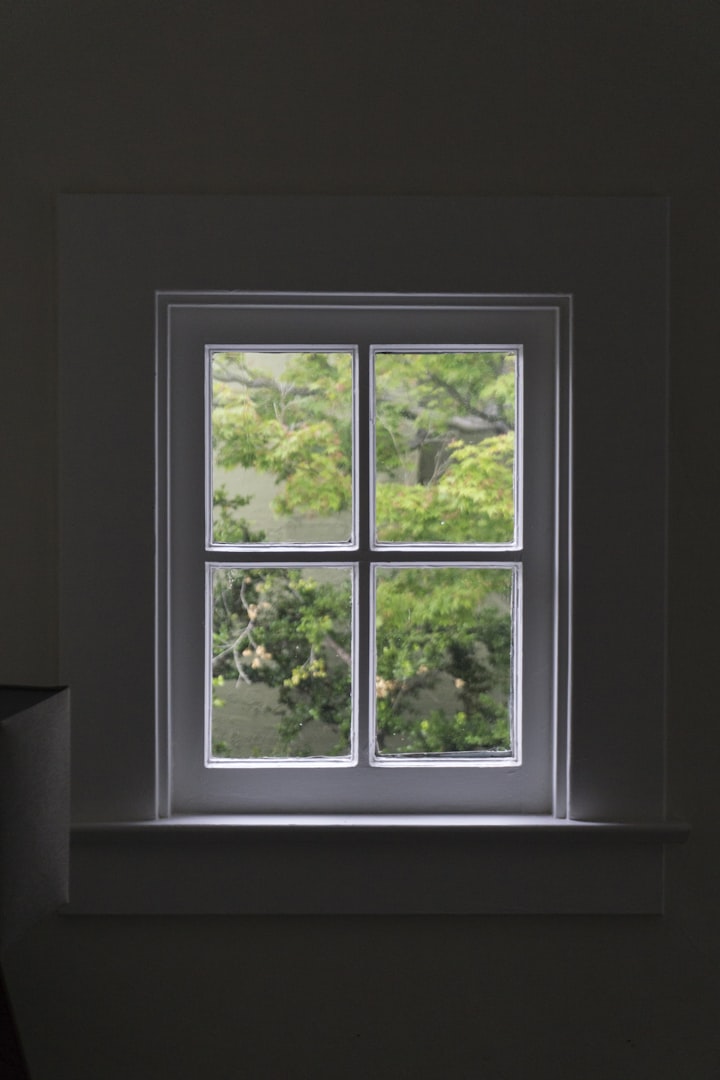
Using ND Filters and Lens Hoods For Out of Window Photography
Bill Bistak

Capturing Stunning Window Views: A Guide to Using ND Filters and Lens Hoods
Windows offer a unique vantage point for photography, providing a frame to the outside world from the comfort of indoors. However, shooting through windows can present challenges like reflections, glare, and loss of detail. To overcome these obstacles and capture breathtaking window views, photographers often turn to ND (Neutral Density) filters and lens covers. In this guide, we'll explore how to use ND filters and lens covers effectively for window photography.
Understanding ND Filters
ND filters are essential tools for controlling the amount of light entering your camera lens. They work by reducing the intensity of all wavelengths of light equally, without affecting color rendition. ND filters are graded based on the amount of light they block, measured in f-stops.
Benefits of ND Filters for Window Photography:
Reducing Glare and Reflections: Windows often reflect light, causing unwanted glare and reducing image clarity. An ND filter can help minimize these reflections, allowing you to capture clearer views of the scene outside.
Balancing Exposure: When shooting through windows, the contrast between indoor and outdoor lighting can be extreme. Using an ND filter helps balance exposure by darkening the brighter areas (like the sky) while maintaining detail in the darker areas (interiors).
Achieving Longer Exposures: ND filters enable longer exposure times, which can be beneficial for capturing dynamic outdoor scenes with moving elements like clouds or flowing water. This technique adds a sense of motion and depth to your window compositions.
Choosing the Right ND Filter
ND filters come in various strengths, typically ranging from ND2 (1-stop reduction) to ND1000 (10-stop reduction) or even higher. The choice of filter strength depends on the lighting conditions and desired effect. Here are some tips for selecting the right ND filter:
Light Conditions: For bright outdoor scenes, opt for stronger ND filters (e.g., ND8 to ND1000) to reduce light effectively. In low-light conditions or when shooting at night, a lighter ND filter (e.g., ND2 to ND4) can be sufficient.
Desired Effect: Consider the effect you want to achieve. A higher-stop ND filter allows for longer exposures and more pronounced motion blur, ideal for landscapes or cityscapes visible through windows.
Lens Compatibility: Ensure the ND filter diameter matches your lens size to avoid vignetting or other issues. Invest in a quality filter made from optical glass or resin to maintain image clarity.
Using Lens Hoods for Window Photography
Lens covers or lens hoods are valuable accessories that help reduce reflections, lens flare, and unwanted light entering your camera lens. When shooting through windows, especially in brightly lit conditions, lens hoods play a crucial role in improving image quality.
Benefits of Lens Hoods for Window Photography:
Minimizing Reflections: Lens hoods reduce reflections caused by light bouncing off the glass surface. This prevents glare and ghosting in your photos, resulting in sharper and more vibrant images.
Reducing Lens Flare: Lens hoods shield the lens from stray light, minimizing lens flare and maintaining contrast in your photos. This is particularly important when shooting towards direct sunlight or artificial light sources.
Improving Color and Detail: By reducing unwanted light interference, lens hoods help preserve accurate colors and enhance the overall clarity and detail of your window captures.
Tips for Effective Window Photography with ND Filters and Lens Hoods
Positioning: Position yourself at an angle to the window to minimize reflections. Use a lens cover to further reduce glare and maintain clarity.
Choosing the Right Exposure: Experiment with different ND filter strengths to achieve the desired exposure and creative effect. Aim for a balanced exposure between indoor and outdoor elements.
Manual Focus: In challenging lighting conditions, consider using manual focus to ensure sharpness and clarity in your window compositions.
Bracketing Exposures: If unsure of the correct exposure settings, use exposure bracketing to capture multiple shots at varying exposures. This allows for greater flexibility during post-processing.
Post-Processing: Use photo editing software to fine-tune colors, contrast, and sharpness. Pay attention to details and refine your window captures for optimal impact.
Conclusion
Incorporating ND filters and lens hoods into your window photography toolkit opens up new creative possibilities and helps overcome common challenges associated with shooting through glass. By understanding how to use these tools effectively, you can capture stunning window views with enhanced clarity, balance, and artistic expression. Experiment with different filter strengths and shooting techniques to unleash the full potential of your window photography endeavors. Remember, the best results often come from a blend of technical skill and creative vision. Happy shooting!